


Hey there! As a supplier of embroidered quilts, I've had my fair share of experiences when it comes to photographing these beautiful pieces for display. It's not just about taking a snap; it's about capturing the essence, the details, and the beauty of each quilt so that potential customers can truly appreciate what they're looking at. In this blog, I'll share with you what I think is the best way to photograph an embroidered quilt for display.
Preparation is Key
Before you even pick up your camera, you need to do some prep work. First off, clean the quilt. A dirty or dusty quilt won't look its best in photos. Gently vacuum it to get rid of any loose debris, and if there are any stains, spot - clean them following the care instructions.
Next, find a suitable backdrop. You want something that won't distract from the quilt. A plain white or light - colored sheet can work wonders. It gives a clean and professional look. You can also use a large piece of foam board painted in a neutral color. Make sure the backdrop is wrinkle - free; wrinkles can create shadows and make the photo look unprofessional.
Lighting is Everything
Good lighting can make or break a photo. Natural light is often the best option. Find a room with large windows and place the quilt near the window. Avoid direct sunlight, as it can cause harsh shadows and overexposure. If you're taking photos on an overcast day, that's even better because the light is soft and diffused.
If natural light isn't available, you can use artificial lighting. Softbox lights are a great choice. They produce a soft, even light that reduces shadows. You can set up two softbox lights on either side of the quilt at a 45 - degree angle. This will illuminate the quilt evenly and bring out the details of the embroidery.
Choosing the Right Camera
You don't necessarily need a high - end professional camera to take great photos of your embroidered quilts. A good smartphone with a high - resolution camera can do the job. Most modern smartphones have excellent cameras with features like portrait mode, which can help blur the background and make the quilt stand out.
If you have a DSLR or mirrorless camera, that's even better. These cameras give you more control over settings like aperture, shutter speed, and ISO. For photographing quilts, a medium - aperture setting (around f/5.6 - f/8) is usually a good choice. It will keep the entire quilt in focus while still creating a slightly blurred background if needed.
Composition
The way you compose your photo is crucial. Start by laying the quilt flat on the backdrop. Smooth out any wrinkles or folds. You can fold the quilt in an interesting way to show off different sections of the embroidery. For example, you can fold it in half diagonally to create a triangular shape.
When taking the photo, get down to the quilt's level. Shooting from above can make the quilt look flat and uninteresting. Instead, get eye - level with the quilt to give it a more three - dimensional look.
Try different angles and perspectives. You can take a close - up shot of a particularly detailed section of the embroidery, or a wide - angle shot to show the entire quilt. Multiple angles and types of shots can give potential customers a better idea of what the quilt looks like in real life.
Focus and Sharpness
Make sure your photo is sharp and in focus. If you're using a smartphone, tap on the quilt to set the focus. With a DSLR or mirrorless camera, use manual focus if you need to. You can zoom in on the LCD screen to check if the embroidery details are sharp.
Take multiple shots to ensure you get a good one. Sometimes, small movements or vibrations can cause a photo to be slightly out of focus. By taking several shots, you increase your chances of getting a sharp, clear photo.
Editing
Once you've taken the photos, it's time to edit them. There are many photo - editing apps available, both for smartphones and computers. Adobe Lightroom is a popular choice for more advanced editing, but there are also free apps like Snapseed for smartphones.
In the editing process, adjust the brightness, contrast, and color saturation to make the quilt look its best. Don't over - edit; you want the photo to look natural. You can also crop the photo to remove any unwanted parts of the backdrop or to focus on the most interesting part of the quilt.
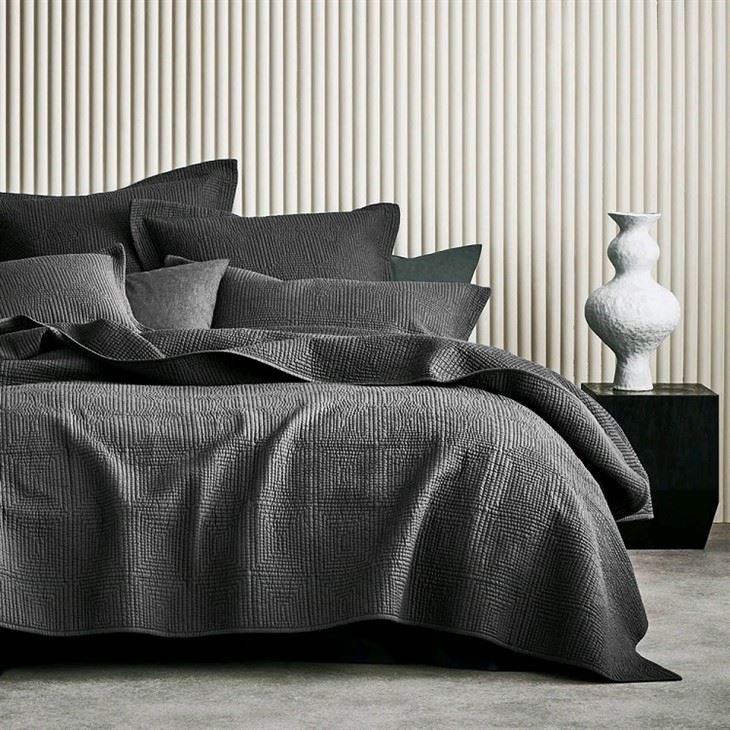

Showcasing Different Quilts
As a supplier of embroidered quilts, you likely have a variety of styles and colors in your collection. Let's take a look at some of our popular options:
- Embroidered Striped Quilt Set: This set features beautiful striped patterns with intricate embroidery. The combination of stripes and embroidery creates a unique and stylish look.
- Green Embroidered Quilt Set: The green color of this quilt set is both calming and elegant. The embroidery adds a touch of luxury, making it a great choice for any bedroom.
- Embroidered Cotton Bedspread: Made from soft cotton, this bedspread is not only beautiful but also comfortable. The embroidery details are sure to catch the eye.
Post - Processing and Display
After editing, save your photos in a high - resolution format like JPEG. You can then use these photos for your website, social media, or printed catalogs. When displaying the photos, make sure they are sized correctly and look good on different devices.
For your website, optimize the photos for web use to reduce loading times. You can also add captions to the photos, describing the features of the quilt, the materials used, and the size.
Conclusion
Photographing embroidered quilts for display is a combination of preparation, lighting, composition, and editing. By following these tips, you can take high - quality photos that showcase the beauty and details of your quilts. Whether you're using a smartphone or a professional camera, with a little practice, you can create photos that will attract potential customers.
If you're interested in purchasing our embroidered quilts or have any questions about our products, feel free to reach out. We're always happy to discuss your needs and help you find the perfect quilt for your home.
References
- "Digital Photography for Dummies" by Julie Adair King
- Online resources on photography composition and lighting techniques from various photography blogs and websites.