


Patchwork quilting is a captivating and time - honored craft that combines creativity, patience, and a love for textiles. As a supplier of patchwork quilts, I have witnessed firsthand the beauty and complexity that goes into making these amazing pieces. In this blog, I will guide you through the step - by - step process of quilting a patchwork quilt.
I. Planning Your Patchwork Quilt
The first and perhaps most crucial step in quilting a patchwork quilt is planning. This involves deciding on the design, size, and color scheme of your quilt.
Design Selection
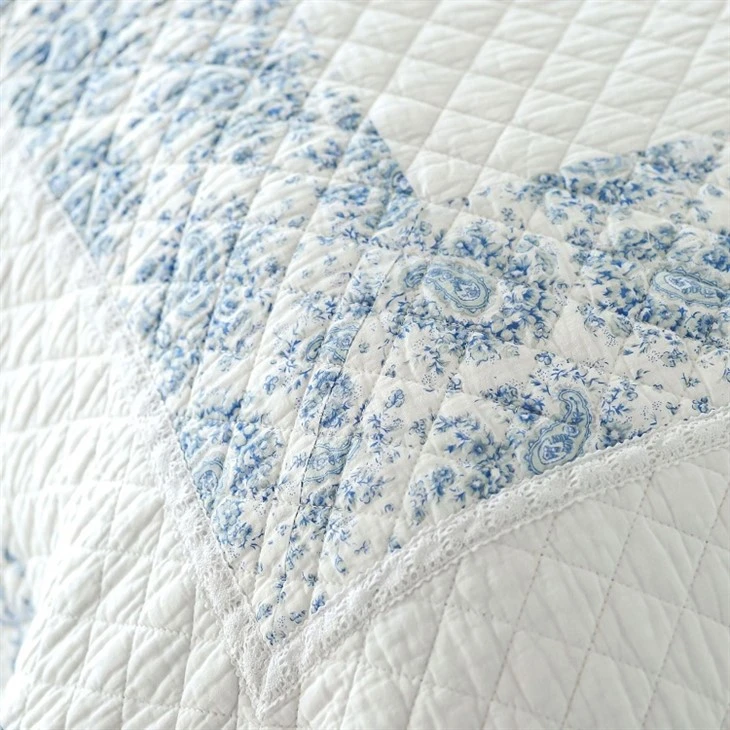
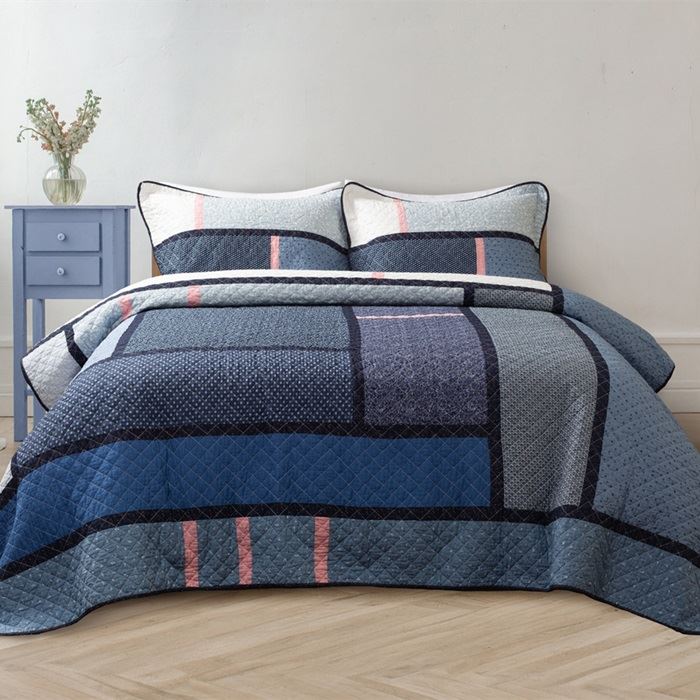
There are countless patchwork quilt designs to choose from, ranging from traditional block patterns to modern and abstract designs. If you are new to patchwork quilting, starting with simple patterns like the Pinwheel Patchwork Cotton Quilt Set can be a great option. Pinwheel patterns are classic and relatively easy to piece together. For those looking for something more contemporary, the Asymmetric Patterned Patchwork Cotton Quilt Set offers a unique and eye - catching design.
Size Determination
The size of your quilt depends on its intended use. A baby quilt might be around 36 inches by 36 inches, while a twin - size quilt could measure 60 inches by 80 inches. Consider who the quilt is for, where it will be placed, and how much fabric you are willing to work with when deciding on the size.
Color Scheme
Color plays a vital role in the overall look of your patchwork quilt. You can choose a monochromatic color scheme for a more subdued and sophisticated look, or go for a vibrant and eclectic mix of colors to add energy and personality. When selecting fabrics, make sure they complement each other and fit the design and style of your quilt.
II. Gathering Materials
Once you have a clear plan in place, it's time to gather the necessary materials.
Fabrics
You will need a variety of fabrics for the quilt top, backing, and binding. For the quilt top, choose high - quality cotton fabrics in different colors and patterns that match your design. The backing fabric should be large enough to cover the entire quilt top with some extra for folding over the edges. A solid - colored or simple - patterned fabric often works well for the backing. The binding fabric is used to finish the edges of the quilt and can be coordinated with the colors in the quilt top.
Batting
Batting is the layer between the quilt top and the backing that provides warmth and thickness. There are different types of batting available, such as cotton, polyester, and wool. Cotton batting is a popular choice as it is breathable, soft, and easy to work with.
Thread
Select a high - quality thread that matches the colors of your fabrics. You will need thread for piecing the quilt top, quilting, and attaching the binding.
Tools
Some essential tools for quilting include a rotary cutter, cutting mat, quilting ruler, sewing machine, pins, and a thimble if you plan to do any hand - quilting.
III. Cutting the Fabric
Precision is key when cutting the fabric for your patchwork quilt.
Using a Rotary Cutter and Ruler
Lay your fabric flat on the cutting mat. Measure and mark the fabric according to the dimensions of your patchwork design. Use a sharp rotary cutter to cut the fabric along the marked lines. A rotary cutter gives you clean and straight cuts, which are essential for proper piecing.
Cutting the Quilt Top Pieces
Cut out all the individual pieces for your quilt top based on the design. Make sure to label the pieces if necessary to avoid confusion during the piecing process.
Cutting the Backing and Batting
Cut the backing fabric and batting to the appropriate size. The backing should be at least 4 - 6 inches larger than the quilt top on all sides, and the batting should be slightly larger than the quilt top as well.
IV. Piecing the Quilt Top
This is where the individual fabric pieces come together to form the quilt top.
Sewing the Pieces Together
Start by sewing the individual pieces of the patchwork according to your design. Use a ¼ - inch seam allowance for most patchwork quilting. Press the seams open or to one side using an iron. Pressing the seams helps to create a flat and smooth surface for the next step of sewing.
Assembling the Blocks
Once you have sewn the individual pieces into blocks, assemble the blocks into rows. Sew the rows together to form the complete quilt top. Again, use a ¼ - inch seam allowance and press the seams carefully.
V. Sandwiching the Quilt
Sandwiching the quilt involves layering the batting, quilt top, and backing together.
Preparing the Layers
Lay the backing fabric, wrong - side up, on a clean and flat surface. Smooth out any wrinkles. Place the batting on top of the backing fabric, centering it as much as possible. Finally, lay the quilt top, right - side up, on top of the batting. Make sure all the layers are aligned properly.
Basting
To keep the three layers together during the quilting process, you need to baste the quilt. You can use safety pins or thread to baste the layers. If using safety pins, insert them at regular intervals (about 4 - 6 inches apart). If using thread, you can hand - baste the edges of the quilt or use a long - arm quilting machine to stitch a grid pattern across the quilt.
VI. Quilting the Quilt
Quilting is the process of stitching the three layers of the quilt together.
Choosing a Quilting Design
There are many quilting designs to choose from, such as straight lines, curves, feathers, or free - motion designs. You can use a walking foot on your sewing machine for straight - line quilting or a darning foot for free - motion quilting. For more complex designs, a long - arm quilting machine can be a great option.
Quilting the Entire Quilt
Start quilting from the center of the quilt and work your way out to the edges. This helps to prevent the layers from shifting. Make sure to stitch through all three layers of the quilt evenly. Quilting not only holds the layers together but also adds texture and visual interest to the quilt.
VII. Adding the Binding
The binding is used to finish the edges of the quilt and give it a professional look.
Preparing the Binding
Cut the binding fabric into strips that are about 2.5 inches wide. Join the strips together end - to - end using diagonal seams to create one long strip. Press the strip in half lengthwise, wrong - sides together.
Attaching the Binding
Starting at one corner of the quilt, place the raw edge of the binding strip along the edge of the quilt, right - sides together. Sew the binding to the front of the quilt using a ¼ - inch seam allowance. When you reach a corner, fold the binding strip diagonally and continue sewing along the next edge.
Finishing the Binding
Once the binding is sewn to the front of the quilt, fold it over to the back and hand - stitch it in place. This creates a neat and finished edge for your quilt.
Conclusion
Quilting a patchwork quilt is a rewarding and fulfilling process that allows you to create a unique and beautiful piece of art. Whether you are making a quilt for yourself, a loved one, or for sale, the steps outlined above will guide you through the process. As a patchwork quilt supplier, I am always here to provide high - quality fabrics, batting, and other materials to help you bring your quilting projects to life. If you are interested in purchasing high - quality patchwork quilt products like the Patchwork Quilt Bedding Set With Ruffled or have any questions about our products, we welcome you to reach out for further procurement discussions.
References
- Bernard, N. M. (2010). The Complete Photo Guide to Patchwork Quilting.
- Daly, J. (2015). Patchwork Quilt Design for Beginners.
- Johnson, L. (2018). Quilting Techniques and Tricks.