


Hey there, fellow quilting enthusiasts! I'm stoked to share with you all the ins and outs of making a patchwork quilt with a theme. As a patchwork quilts supplier, I've seen firsthand the magic that happens when you infuse a quilt with a unique theme. It takes a simple patchwork creation and turns it into a one-of-a-kind work of art that tells a story. So, let's dive right in!
Choosing Your Theme
The first step in making a themed patchwork quilt is, of course, choosing your theme. This is where your creativity can really shine. Think about your interests, hobbies, or even a special occasion you want to commemorate. It could be anything from a favorite vacation destination, a beloved animal, to a specific color scheme inspired by a season.
For example, if you're a nature lover, you might choose a forest theme. You could use earthy greens, browns, and maybe some pops of color for wildflowers. Or, if you're a fan of the beach, a coastal theme with blues, whites, and sandy tones would be perfect.
Once you've settled on a theme, start gathering inspiration. Look at magazines, browse online, or visit local art galleries. Pinterest is also a goldmine for quilt inspiration. Save images that catch your eye and use them as a reference throughout the process.
Selecting Your Fabrics
Now that you have your theme, it's time to choose the fabrics. This is where things can get really exciting! Head to your local fabric store or browse online. Look for fabrics that fit your theme in terms of color, pattern, and texture.
If you're going for a rustic star theme, you might want to check out our Rustic Star Patchwork Bedspread for some inspiration. It features warm, earthy tones and a classic star pattern that would be perfect for a country or western-themed quilt.
For a more calming and serene look, a Blue Patchwork Quilt could be your go-to. The blues can range from light sky blue to deep navy, creating a beautiful gradient effect.
And if you're aiming for a more feminine and floral look, our Floral Cotton Patchwork Quilt Set has some great fabric ideas. The soft pastel colors and delicate floral patterns would be ideal for a spring or garden-themed quilt.
When selecting fabrics, make sure to choose a variety of prints and solids. This will add depth and interest to your quilt. Also, consider the quality of the fabric. You want something that will hold up well over time and won't fade easily.
Cutting Your Patches
Once you have your fabrics, it's time to start cutting your patches. You can use a rotary cutter and a cutting mat for precise cuts, or if you're more old-school, scissors will work just fine.
Decide on the size and shape of your patches. Squares are the most common, but you can also use triangles, rectangles, or even hexagons. Use a ruler or a template to ensure all your patches are the same size.
If you're new to quilting, start with larger patches. They're easier to work with and will give you a good foundation. As you gain more experience, you can try smaller and more intricate shapes.
Piecing Your Quilt
Now comes the fun part - piecing your quilt together! This is where you'll start to see your theme come to life.
Lay out your patches on a flat surface in the pattern you want. You can play around with different arrangements until you find one that you like. Once you're happy with the layout, start sewing the patches together.
Use a sewing machine for a faster and more consistent stitch. Make sure to use a ¼-inch seam allowance. This will give you enough room to quilt the layers together later.
As you sew, pay attention to the orientation of your fabrics. You want the patterns to line up nicely and create a cohesive look. If you're using directional prints, make sure they're all facing the same way.
Adding Borders
Once you've pieced together the main part of your quilt, it's time to add borders. Borders can add a finishing touch to your quilt and make it look more polished.
Choose a fabric for your borders that complements your theme. You can use a solid color for a simple look, or a coordinating print for a more decorative effect.
Cut your border strips to the appropriate width and length. Sew them onto the edges of your quilt, making sure to match the seams. You can add multiple borders for a more elaborate look.
Quilting the Layers
Now that your quilt top is complete, it's time to layer it with the batting and backing fabric. The batting adds warmth and thickness to your quilt, while the backing fabric gives it a finished look.
Lay the backing fabric on a flat surface, wrong side up. Place the batting on top of the backing, followed by the quilt top, right side up. Smooth out any wrinkles or bubbles.
Pin the layers together to keep them in place. You can use straight pins or quilting safety pins. Make sure to pin close together to prevent the layers from shifting while you're quilting.
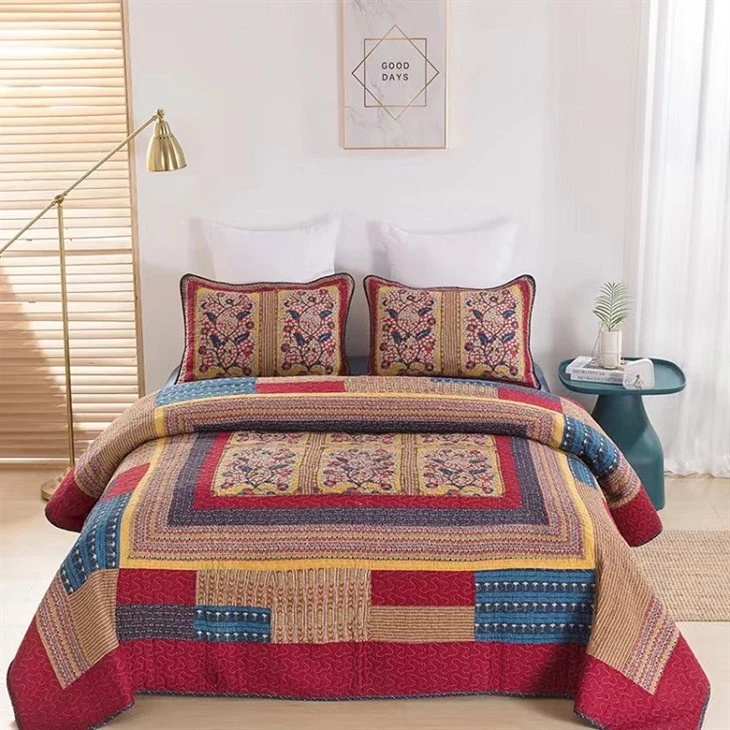

There are several ways to quilt the layers together. You can use a sewing machine to stitch in the ditch (along the seams between the patches), or you can free-motion quilt for a more decorative effect. If you're not confident in your quilting skills, you can also take your quilt to a professional quilter.
Binding the Quilt
The final step in making your patchwork quilt is binding the edges. Binding gives your quilt a clean and finished look.
Cut bias strips from a coordinating fabric. Bias strips are cut on the diagonal, which allows them to stretch and curve around the edges of your quilt.
Sew the bias strips together end to end to create one long strip. Fold the strip in half lengthwise, wrong sides together.
Starting at one corner of your quilt, pin the binding to the raw edge of the quilt, right sides together. Sew the binding to the quilt using a ¼-inch seam allowance.
Once you've sewn the binding to the front of the quilt, fold it over to the back and hand stitch it in place. This will give your quilt a professional finish.
Conclusion
Making a patchwork quilt with a theme is a rewarding and creative process. It allows you to express your personality and tell a story through fabric. Whether you're a beginner or an experienced quilter, I hope this guide has given you some inspiration and tips to get started.
If you're interested in purchasing high-quality patchwork quilts or fabrics for your next project, I'd love to hear from you. We offer a wide range of products that are perfect for themed quilts. Just reach out to us, and we can discuss your needs and preferences. Let's create something beautiful together!
References
- "The Complete Photo Guide to Quilting" by Better Homes and Gardens
- "Quilting for Beginners" by Annie's Attic
- Online resources such as Quilting Daily and AllFreeQuilting.com