


Making a patchwork quilt with a pieced backing is a rewarding and creative endeavor that combines artistry with practicality. As a patchwork quilts supplier, I've had the privilege of witnessing the beauty and intricacy that goes into each quilt. In this blog post, I'll guide you through the process of creating a patchwork quilt with a pieced backing, sharing tips and insights along the way.
Getting Started: Planning Your Quilt
Before you start cutting fabric, it's essential to have a clear plan for your quilt. Consider the size, design, and color scheme you want to achieve. Sketch out your design on paper or use a quilting software to visualize your ideas. Think about the theme of your quilt and how the pieced backing will complement the front.
Choosing the Right Fabrics
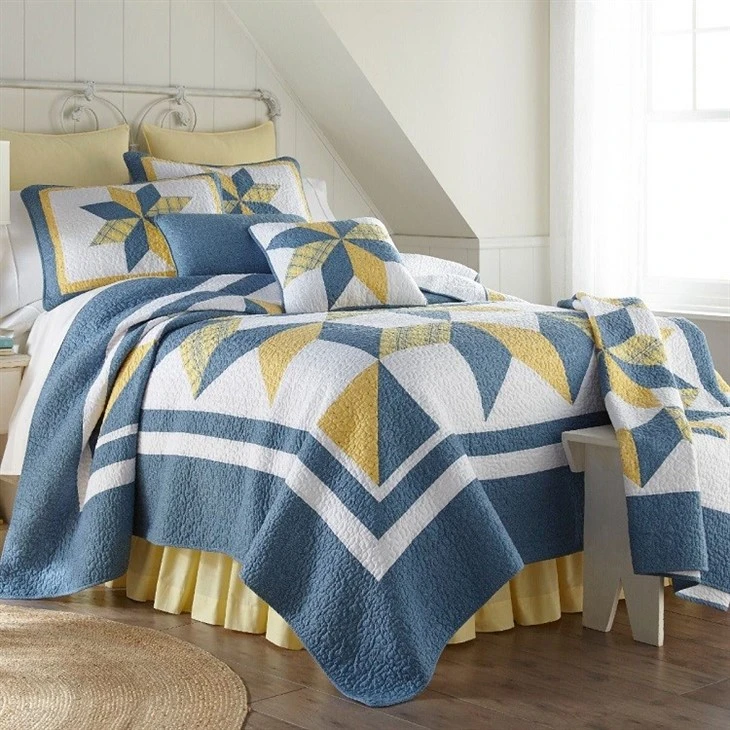
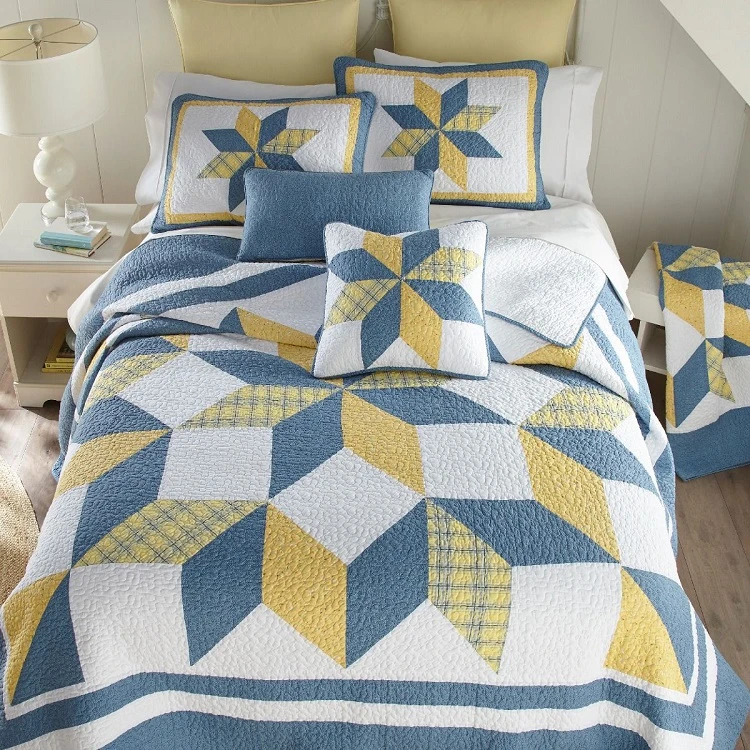
The choice of fabrics is crucial in creating a beautiful patchwork quilt. Select high-quality cotton fabrics that are colorfast and easy to work with. You can use a variety of prints, solids, and textures to add interest to your quilt. For the front of the quilt, choose fabrics that coordinate well together and create a harmonious color palette. For the pieced backing, you can use a combination of leftover fabrics from the front or select complementary fabrics to create a unique design.
When selecting fabrics, keep in mind the weight and drape of the fabric. Quilting cotton is a popular choice for patchwork quilts because it is lightweight, easy to sew, and has a nice drape. Avoid using heavy or stiff fabrics, as they can make the quilt bulky and difficult to work with.
Cutting the Fabric
Once you have chosen your fabrics, it's time to cut them into the desired shapes and sizes. Use a rotary cutter, cutting mat, and ruler to ensure accurate cuts. Follow your design plan and cut the fabric pieces according to the measurements specified. You can use templates or rotary cutter blades to cut different shapes, such as squares, rectangles, triangles, and hexagons.
When cutting the fabric, be sure to leave a seam allowance of about 1/4 inch around each piece. This will allow you to sew the pieces together neatly and ensure a professional finish.
Sewing the Front of the Quilt
The next step is to sew the fabric pieces together to create the front of the quilt. Start by arranging the pieces on a flat surface according to your design plan. You can use pins or basting spray to hold the pieces in place. Once you are satisfied with the arrangement, sew the pieces together using a sewing machine. Use a straight stitch or a zigzag stitch to sew the seams, depending on your preference.
When sewing the seams, be sure to sew slowly and carefully to ensure accurate stitches. Press the seams open or to one side using an iron to flatten them and make them easier to work with. Continue sewing the pieces together until you have completed the front of the quilt.
Creating the Pieced Backing
The pieced backing is what sets a patchwork quilt apart from a traditional quilt. It adds an extra layer of interest and complexity to the quilt. To create the pieced backing, you can use a variety of techniques, such as piecing, appliqué, or embroidery.
One popular technique for creating a pieced backing is to use leftover fabrics from the front of the quilt. Cut the leftover fabrics into different shapes and sizes and arrange them on a flat surface to create a unique design. You can use a variety of colors, prints, and textures to add interest to the backing. Once you are satisfied with the arrangement, sew the pieces together using a sewing machine.
Another technique for creating a pieced backing is to use complementary fabrics to create a coordinated design. Choose fabrics that have a similar color palette or pattern to the front of the quilt. Cut the fabrics into different shapes and sizes and arrange them on a flat surface to create a unique design. You can use a variety of techniques, such as piecing, appliqué, or embroidery, to add interest to the backing.
Quilting the Quilt
Once you have completed the front and the pieced backing of the quilt, it's time to quilt them together. Quilting is the process of stitching the layers of the quilt together to hold them in place and add texture and dimension to the quilt. You can use a variety of quilting techniques, such as hand quilting, machine quilting, or free-motion quilting.
Hand quilting is a traditional technique that involves stitching the layers of the quilt together by hand using a needle and thread. It is a time-consuming process, but it creates a beautiful and unique look. Machine quilting is a faster and more efficient way to quilt a quilt. You can use a sewing machine to stitch the layers of the quilt together using a variety of stitches and patterns. Free-motion quilting is a technique that involves using a sewing machine to create freehand designs on the quilt. It is a fun and creative way to add texture and dimension to the quilt.
When quilting the quilt, be sure to use a high-quality quilting thread that is strong and durable. You can use a variety of colors and weights of thread to create different effects. Press the quilt after quilting to flatten the layers and make the stitches more visible.
Binding the Quilt
The final step in creating a patchwork quilt with a pieced backing is to bind the edges of the quilt. Binding is the process of finishing the edges of the quilt to give it a professional look and to prevent the fabric from fraying. You can use a variety of binding techniques, such as bias binding, straight binding, or mitered binding.
Bias binding is a popular technique for binding a quilt. It is made by cutting the fabric on the bias, which gives it a stretchy and flexible quality. To make bias binding, cut the fabric into strips that are about 2 1/2 inches wide. Sew the strips together end-to-end to create a long strip of binding. Fold the binding in half lengthwise and press it with an iron. Pin the binding to the edge of the quilt, starting at one corner. Sew the binding to the quilt using a sewing machine, using a straight stitch or a zigzag stitch. Fold the binding over to the back of the quilt and sew it in place using a hand stitch or a machine stitch.
Conclusion
Making a patchwork quilt with a pieced backing is a fun and rewarding project that allows you to express your creativity and create a unique and beautiful quilt. By following the steps outlined in this blog post, you can create a patchwork quilt that you will be proud to display in your home or give as a gift.
As a patchwork quilts supplier, we offer a wide range of high-quality fabrics and supplies to help you create your own patchwork quilt. Whether you are a beginner or an experienced quilter, we have everything you need to get started. Check out our selection of Printed Patchwork Cotton Quilt Set, Star Patchwork Quilt Set, and Star Patchwork Quilt Bedding to find the perfect fabrics and supplies for your next project.
If you have any questions or need help with your patchwork quilt project, please don't hesitate to contact us. We are here to help you every step of the way. We look forward to working with you and helping you create a beautiful patchwork quilt that you will cherish for years to come.
References
- "The Complete Guide to Patchwork Quilting" by Judy Martin
- "Quilting for Beginners" by Mary Fons
- "Patchwork Quilt Patterns" by Elizabeth Hartman