


Hey there! I'm super excited to share with you today how to make a patchwork quilt with a flower pattern. I'm a supplier of patchwork quilts, and I've seen firsthand how beautiful and rewarding these projects can be. So, let's dive right in!
Getting Started: Materials and Tools
First things first, we need to gather our materials and tools. You'll need a variety of fabrics in different colors and prints to create that lovely flower pattern. Think about using bright, cheerful colors for the petals and a more neutral tone for the background. For the fabric, cotton is a great choice because it's easy to work with and drapes nicely.
You'll also need a few tools. A good pair of fabric scissors is a must-have. Make sure they're sharp to cut through the fabric cleanly. A rotary cutter and cutting mat can also be really helpful, especially when you're cutting out lots of pieces. And don't forget about pins to hold your fabric pieces together while you sew, and a sewing machine to stitch everything up.
Designing Your Flower Pattern
Now, let's talk about designing your flower pattern. You can either come up with your own design or use a pre-made template. If you're new to patchwork, using a template might be a good idea to get you started. You can find all sorts of flower templates online or in craft stores.
Once you have your design, you'll need to trace it onto your fabric. You can use a fabric marker or a piece of chalk for this. Just make sure the lines are clear and easy to follow. Cut out your fabric pieces carefully, following the traced lines. Remember to add a little extra seam allowance (about 1/4 inch) around each piece to make it easier to sew them together.
Sewing the Petals
Let's start sewing the petals. Take two fabric pieces that will make up a petal and place them right sides together. Pin them in place to keep them from shifting. Then, use your sewing machine to sew along the edge, leaving about a 1/4 inch seam allowance. Make sure to backstitch at the beginning and end of your seam to secure the stitching.
Once you've sewn the two pieces together, flip them right side out. You can use a chopstick or a turning tool to push the corners out and make them nice and pointy. Now you have one petal! Repeat this process for all the petals you need for your flower.
Assembling the Flower
Now that you have all your petals, it's time to assemble the flower. Lay out your petals in the shape of a flower on a flat surface. You can use pins to hold them in place. Start by sewing the petals together at the center of the flower. You can use a small, tight stitch to make sure the petals are securely attached.
As you sew the petals together, you might need to adjust the position of the petals a little bit to make the flower look nice and even. Keep sewing until all the petals are connected at the center, forming a beautiful flower.
Adding the Background
With your flower assembled, it's time to add it to the background fabric. Choose a background fabric that complements the colors of your flower. Lay the flower on the background fabric in the position you want it to be. Pin it in place.
Then, sew around the edge of the flower, attaching it to the background fabric. You can use a straight stitch or a decorative stitch, depending on the look you're going for. Make sure to sew close to the edge of the flower to keep it from fraying.
Creating More Flowers
If you want to make a quilt with multiple flower patterns, repeat the process of making the petals, assembling the flowers, and adding them to the background fabric. You can arrange the flowers on the background in different patterns, like a row of flowers or a scattered design.
Layering and Quilting
Once you have all your flower patterns on the background fabric, it's time to layer the quilt. You'll need three layers: the top layer (the background fabric with the flower patterns), the batting (which gives the quilt its thickness and warmth), and the backing fabric.
Lay the backing fabric on a flat surface. Then, place the batting on top of the backing fabric. Next, lay the top layer (with the flower patterns) on top of the batting, right side up. Pin the three layers together to keep them from shifting.
Now, it's time to quilt. Quilting is the process of stitching the three layers together. You can use a quilting machine or do it by hand. There are all sorts of quilting patterns you can choose from, like straight lines, waves, or diamond shapes. Quilting not only holds the layers together but also adds a decorative touch to your quilt.
Binding the Quilt
The last step is to bind the quilt. Binding is a strip of fabric that goes around the edge of the quilt to finish it off and prevent the edges from fraying. You can make your own binding by cutting a long strip of fabric and folding it in half lengthwise.
Place the binding on the edge of the quilt, right sides together. Sew the binding to the quilt using a straight stitch. Then, fold the binding to the back of the quilt and sew it down using a hand stitch or a machine stitch.
Our Patchwork Quilts Collection
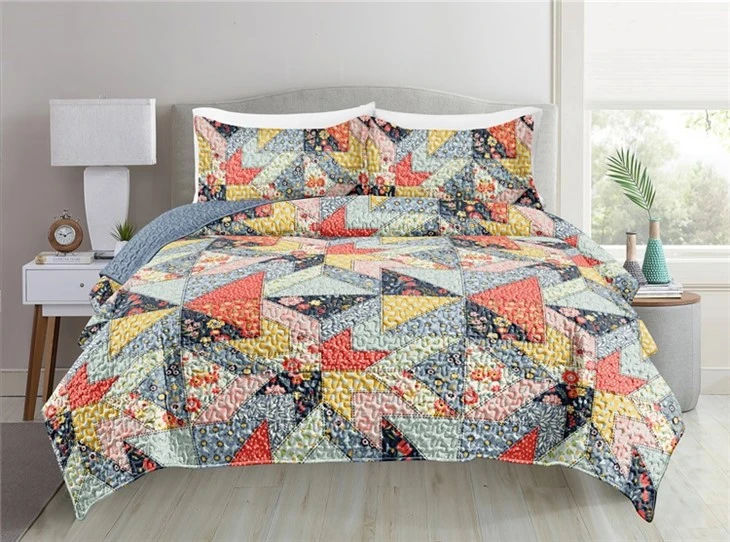
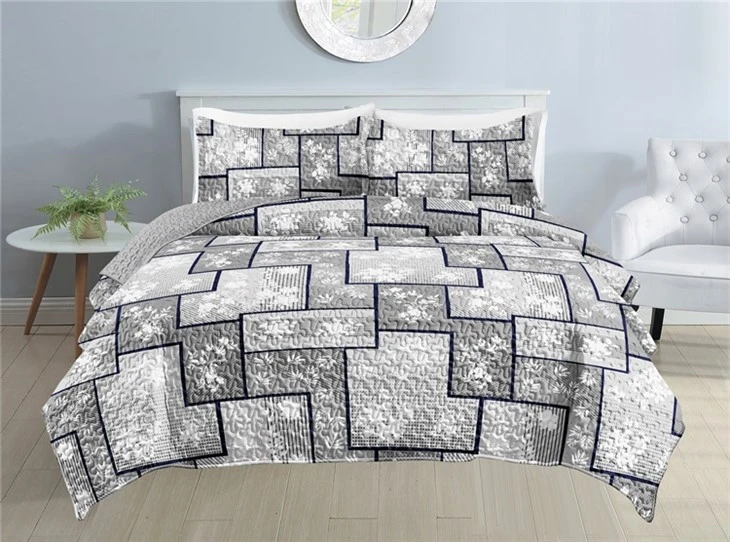
If you're interested in seeing some of our amazing patchwork quilts, you can check out our Floral Printed Patchwork Quilt Set. It features beautiful floral patterns that will add a touch of elegance to any bedroom. We also have a Patchwork Printed Quilt Set with a variety of colorful prints. And for those who love a classic look, our Chelsea Cotton Patchwork Quilt is a perfect choice.
Let's Connect
If you're looking to purchase high-quality patchwork quilts for your store or personal use, we'd love to hear from you. We offer a wide range of patchwork quilts in different styles and designs. Whether you're a retailer or an individual looking for a unique quilt, we can provide you with the perfect product. Reach out to us to discuss your requirements and let's start a great partnership!
References
- "The Complete Guide to Patchwork and Quilting" by Ann Sutton
- "Quilting with Style" by Amy Gibson