


Patchwork quilts are not only functional bedding but also beautiful works of art that add a touch of warmth and charm to any room. As a patchwork quilts supplier, I've had the pleasure of working with a variety of fabrics and techniques to create stunning pieces. In this blog, I'll share with you how to make a patchwork quilt using scraps, a cost - effective and environmentally friendly way to bring a unique quilt to life.
Gathering Your Scraps
The first step in making a patchwork quilt is to gather your fabric scraps. You can collect scraps from old clothes, leftover fabric from previous sewing projects, or even purchase fabric remnants from your local fabric store. The key is to have a diverse range of colors, patterns, and textures to create an interesting and visually appealing quilt.
When selecting your scraps, consider the overall color scheme you want for your quilt. You can go for a monochromatic look, using different shades of the same color, or create a bold and vibrant quilt with a rainbow of colors. It's also important to choose fabrics that are of similar weight and texture. Cotton is a popular choice for patchwork quilts because it's easy to work with and washes well.
Preparing Your Scraps
Once you have your fabric scraps, it's time to prepare them for sewing. Start by washing and drying your fabrics to pre - shrink them and remove any dirt or chemicals. Then, iron your scraps to make them flat and easy to work with.
Cut your scraps into uniform shapes and sizes. Common shapes for patchwork quilts include squares, rectangles, triangles, and hexagons. You can use a rotary cutter and a cutting mat to ensure precise cuts. For example, if you're making a quilt with square patches, you might cut all your scraps into 4 - inch squares.
Designing Your Quilt
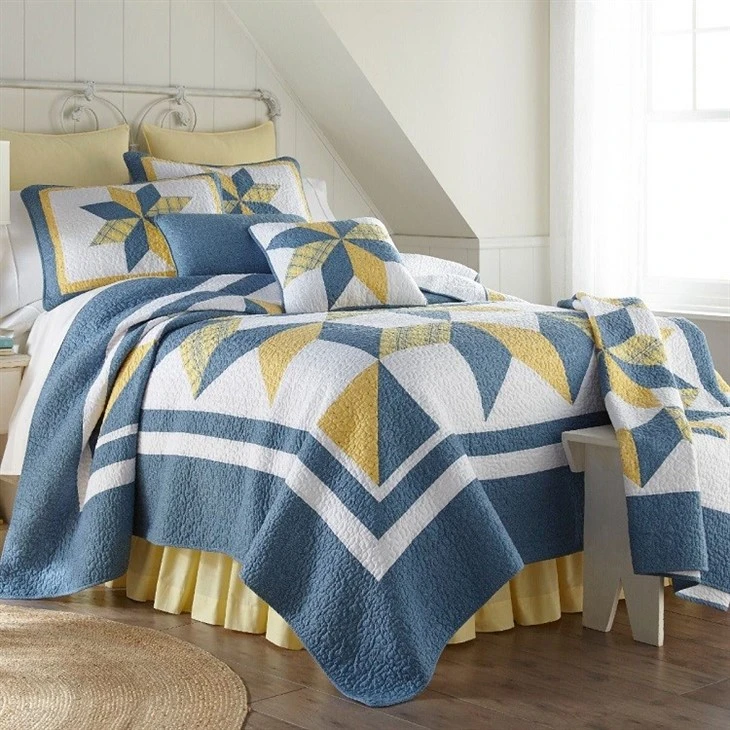
The design of your patchwork quilt is where your creativity really shines. There are countless ways to arrange your fabric patches to create different patterns. You can create a simple grid pattern by arranging your squares in rows and columns, or you can get more complex with a star pattern, a log cabin pattern, or a pinwheel pattern.
Lay out your fabric patches on a large flat surface, such as a table or the floor, to experiment with different arrangements. Take a step back and look at your layout from a distance to see how the colors and patterns work together. Once you're happy with your design, you can start sewing the patches together.
Sewing the Patches Together
To sew the fabric patches together, you'll need a sewing machine or a needle and thread. If you're using a sewing machine, set it to a straight stitch and a medium - length stitch. Start by sewing two patches together along one edge. Use a ¼ - inch seam allowance, which is the distance between the edge of the fabric and the stitching line. Press the seam open with an iron to flatten it.
Continue sewing the patches together in rows. Once you have all your rows sewn, you can sew the rows together to create the quilt top. Make sure to align the seams carefully to keep your quilt top straight.
Adding the Batting and Backing
The batting is the layer of insulation that goes between the quilt top and the backing. It adds warmth and thickness to the quilt. You can choose from different types of batting, such as cotton, polyester, or wool. Cut the batting to the same size as your quilt top, or slightly larger.
The backing is the fabric that goes on the back of the quilt. It can be a solid color or a coordinating pattern. Cut the backing fabric to the same size as the batting, or slightly larger.
Lay the backing fabric on a flat surface, wrong side up. Place the batting on top of the backing, followed by the quilt top, right side up. Smooth out any wrinkles or bubbles in the layers. You can use safety pins or quilting clips to hold the layers together.
Quilting
Quilting is the process of stitching through all three layers of the quilt (the top, the batting, and the backing) to hold them together. There are several ways to quilt a patchwork quilt. You can do it by hand, using a needle and thread, or by machine.
If you're quilting by machine, you can use a free - motion quilting technique or a straight - line quilting technique. Free - motion quilting allows you to create custom designs, such as swirls, loops, or feathers. Straight - line quilting is simpler and involves sewing straight lines across the quilt.

Binding the Quilt
The binding is the strip of fabric that goes around the edges of the quilt to finish it off. Cut a strip of fabric that is about 2.5 inches wide and long enough to go around the perimeter of the quilt. Fold the strip in half lengthwise, wrong sides together, and press it with an iron.
Pin the binding to the edge of the quilt, starting at one corner. Sew the binding to the front of the quilt, using a ¼ - inch seam allowance. When you reach a corner, fold the binding diagonally and continue sewing. Once you've sewn the binding all the way around the quilt, fold it to the back of the quilt and hand - stitch it in place.
Our Patchwork Quilt Products
If you're interested in seeing some of the beautiful patchwork quilts we offer as a supplier, you can check out our Patchwork Star Cotton Quilt Bedding, Printed Patchwork Cotton Quilt Set, and Chelsea Cotton Patchwork Quilt. These quilts are made with high - quality fabrics and expert craftsmanship, and they're sure to add a touch of elegance to any bedroom.
Contact Us for Purchasing
If you're interested in purchasing our patchwork quilts in bulk or have any questions about our products, we'd love to hear from you. Whether you're a retailer looking to stock our quilts in your store or an individual who wants to order a custom - made quilt, we can work with you to meet your needs. Reach out to us to start a procurement discussion, and we'll be happy to provide you with more information and pricing details.
References
- "The Complete Photo Guide to Patchwork Quilting" by Better Homes and Gardens
- "Patchwork Quilts for Beginners" by Coats & Clark