


Hey there! As a supplier of patchwork quilts, I've been getting a bunch of questions lately about how to add embroidery to these beautiful creations. So, I thought I'd share my insights and experiences with you all.
First off, let's talk about why you'd want to add embroidery to a patchwork quilt. Well, embroidery can take an already stunning patchwork quilt and make it truly one-of-a-kind. It adds a personal touch, a bit of texture, and a whole lot of character. Whether you're going for a traditional look or something more modern and funky, embroidery can help you achieve that.
Now, let's get into the nitty-gritty of how to do it. The first thing you'll need is, of course, a patchwork quilt. If you're looking for some great options, check out our Chelsea Cotton Patchwork Quilt, Diamond Patchwork Quilt Set, and Patchwork Printed Quilt Set. These are all high-quality quilts that are perfect for embroidery.
Once you've got your quilt, you'll need to gather your embroidery supplies. You'll need embroidery floss in the colors of your choice, a needle, and a hoop. You can also use other tools like embroidery scissors and a thimble, but they're not essential.
The next step is to decide where you want to add the embroidery. You can add it to the individual patches, along the seams, or even create a large design that covers multiple patches. It's really up to your creativity and the look you're going for.
If you're new to embroidery, I recommend starting with a simple design. You can find lots of free embroidery patterns online or in craft stores. Once you've chosen your design, transfer it onto the quilt using a fabric marker or a lightbox.
Now it's time to start stitching. Thread your needle with the embroidery floss and tie a knot at the end. Place the hoop around the area where you want to embroider and tighten it so that the fabric is taut. This will make it easier to stitch.
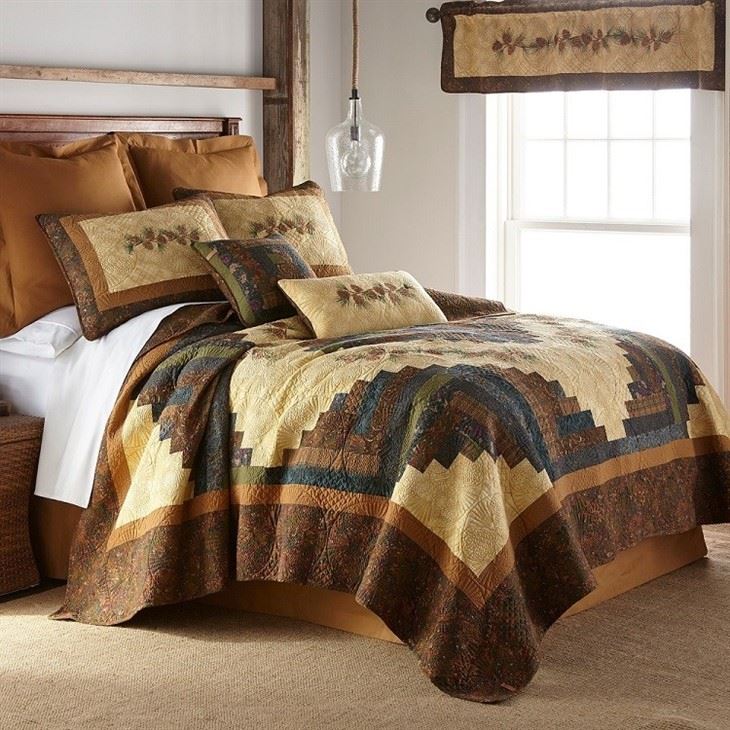

There are lots of different embroidery stitches you can use, but some of the most common ones for patchwork quilts are the running stitch, the backstitch, and the satin stitch. The running stitch is a simple, straight stitch that's great for outlining shapes. The backstitch is a stronger stitch that's often used for filling in areas. The satin stitch is a dense stitch that's used to create a smooth, solid color.
As you're stitching, be sure to take your time and keep your stitches even. It can be a bit tricky at first, but with practice, you'll get the hang of it. And don't worry if your stitches aren't perfect – that's part of the charm of handmade embroidery.
Once you've finished stitching, you can remove the hoop and trim any excess thread. You can also add a bit of finishing touches, like a bead or a button, to make your embroidery really stand out.
And that's it! You've successfully added embroidery to a patchwork quilt. Now you can sit back and admire your handiwork.
If you're interested in purchasing our patchwork quilts or have any questions about adding embroidery, feel free to reach out. We'd love to hear from you and help you create the perfect patchwork quilt.
References
- Various craft books and online resources on embroidery and patchwork quilting.