


Hey there! I'm an embroidered quilts supplier, and today I wanna share with you how I handle the fabric when making an embroidered quilt. It's a process that combines artistry, skill, and a whole lot of love for the craft.
Choosing the Right Fabric
The first step in making an embroidered quilt is choosing the right fabric. It's like the foundation of a house - if it's not right, the whole thing can fall apart. I usually go for high - quality cotton. Cotton is great because it's breathable, soft, and easy to work with. It also holds embroidery stitches really well.
I've got a Cotton Embroidered Bed Quilt Set that's made from the finest cotton. The fabric has a nice texture that makes the embroidery stand out. When I'm selecting the cotton, I look for a tight weave. A tight - woven fabric means that the stitches won't pull through easily, and the embroidery will last longer.
Another fabric option is recycled materials. We've recently launched a Global Recycle Standard Embroidered Quilt Set. Using recycled fabric is not only eco - friendly but also gives the quilt a unique character. The recycled cotton has a slightly different feel compared to new cotton, but it still works great for embroidery.
Preparing the Fabric
Once I've chosen the fabric, it's time to prepare it. I always wash the fabric before starting the embroidery. Washing gets rid of any chemicals or sizing that might be on the fabric. It also pre - shrinks the fabric, so there won't be any unexpected shrinking after the quilt is finished.
After washing, I dry the fabric on a low heat setting. High heat can damage the fabric and cause it to shrink more than necessary. Once it's dry, I iron the fabric to get rid of any wrinkles. A smooth fabric surface is essential for accurate embroidery.
I also like to stabilize the fabric. For larger pieces of fabric, I use a light - weight interfacing. The interfacing gives the fabric more body and makes it easier to hoop. When I'm working on a small area of embroidery, I might use a spray adhesive to attach the fabric to a stabilizer. This keeps the fabric in place and prevents it from shifting while I'm stitching.
Hooping the Fabric
Hooping the fabric is a crucial step. A good hoop keeps the fabric taut, which is necessary for even stitches. I use a hoop that's slightly larger than the area I'm going to embroider. This gives me some extra room to work.
When I'm hooping the fabric, I make sure it's centered in the hoop. I start by placing the fabric over the inner hoop and then gently stretching it. I try to stretch the fabric evenly in all directions to avoid any puckering. Then I place the outer hoop on top and tighten the screws. I don't over - tighten the hoop because that can distort the fabric.
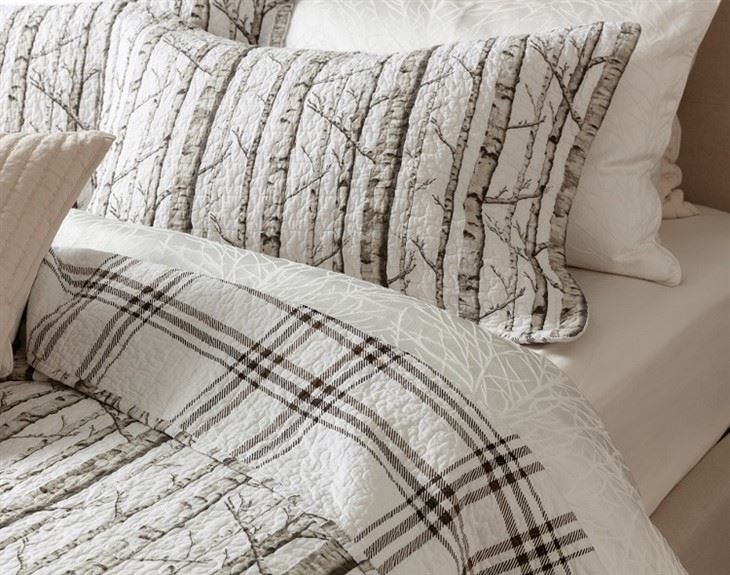
For some of our more intricate designs, like the ones in our White Birch Pattern Cotton Quilt Set, I might use a double - hooping technique. Double hooping involves using two hoops to hold the fabric. The first hoop holds the fabric around the outside of the embroidery area, and the second hoop goes inside the first one to hold the fabric even more securely in the center.
Embroidery Process
Now comes the fun part - the embroidery! I use a variety of embroidery stitches, like satin stitch, backstitch, and French knots. Each stitch has its own look and purpose.
When I'm stitching, I pay close attention to the tension. The tension needs to be just right. If it's too tight, the fabric will pucker, and if it's too loose, the stitches will look sloppy. I adjust the tension on my embroidery machine as needed.
I also take breaks during the embroidery process. Embroidery can be time - consuming, and my hands can get tired. Taking breaks helps me stay focused and ensures that I'm making high - quality stitches.
As I'm embroidering, I keep an eye on the thread. I make sure there are no knots or tangles. If I notice a problem with the thread, I stop immediately and fix it. A broken or tangled thread can ruin the embroidery.
Post - Embroidery Fabric Handling
After the embroidery is done, I carefully remove the fabric from the hoop. I do this slowly to avoid pulling on the stitches. Once the fabric is out of the hoop, I trim any excess stabilizer or loose threads.
I then wash the quilt again. This second wash helps to soften the fabric and get rid of any remaining stabilizer or thread bits. I use a gentle detergent and wash it on a delicate cycle.
After washing, I dry the quilt flat. Drying it flat helps to maintain its shape. Once it's dry, I give it one last iron. Ironing the quilt gives it a finished look and smooths out any wrinkles that might have formed during the drying process.
Quality Control
Before the quilt is ready to be shipped out, I do a thorough quality control check. I look for any loose stitches, uneven embroidery, or fabric flaws. If I find any issues, I fix them right away.
I also test the durability of the embroidery. I gently tug on the stitches to make sure they're secure. I want to make sure that our customers are getting a high - quality product that will last for years.
Wrapping Up
Handling the fabric when making an embroidered quilt is a multi - step process that requires attention to detail. From choosing the right fabric to the final quality control check, every step is important. Whether you're a customer looking for a beautiful embroidered quilt or a fellow craftsperson interested in the process, I hope this blog has given you some insights.
If you're interested in purchasing our embroidered quilts or have any questions about our products, feel free to reach out. We're always happy to discuss your needs and help you find the perfect quilt for your home.
References
- "The Complete Guide to Quilting" by Quilting Experts
- "Embroidery Techniques for Beginners" by Stitch Enthusiast Press